Revitalizing a Vintage RTTY Terminal
Heyo! I've been hard at work on several projects over the past little while. One of those projects is approaching completion (insert quip about how that never happens) so I thought I would share my progress with the world.
Background
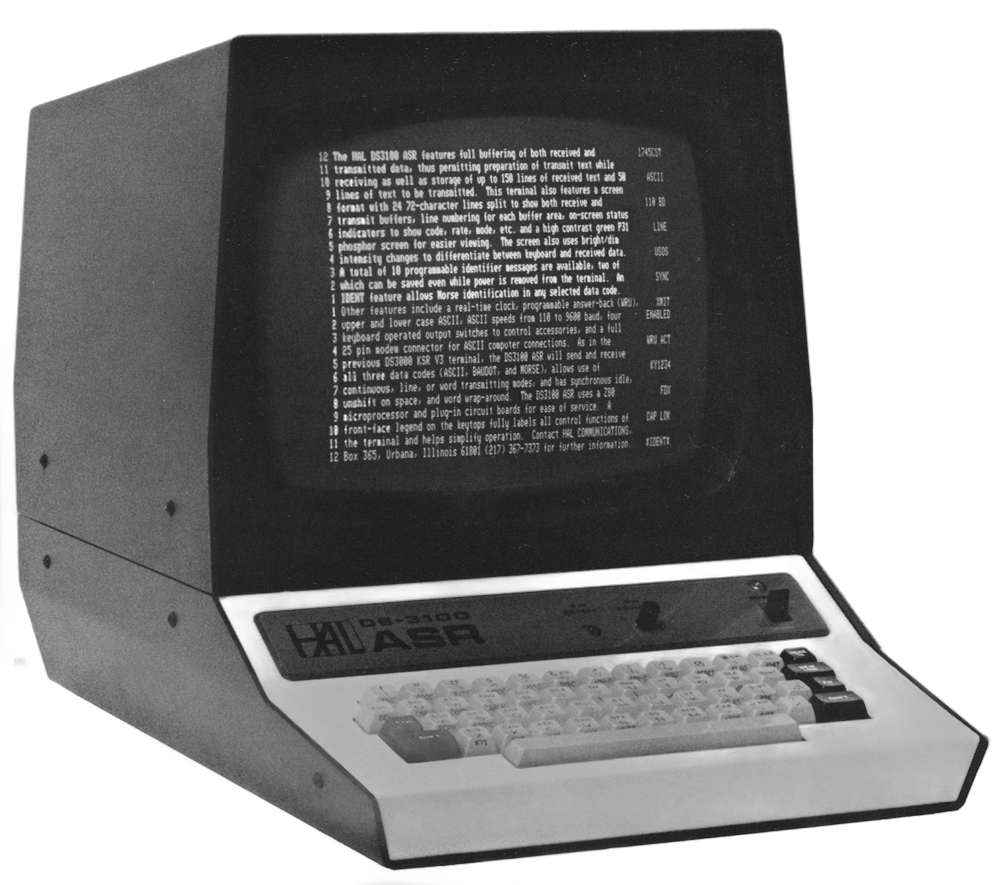
I'm somewhat active in local amateur radio club, so my interest was piqued when someone on our mailing list asked if anyone wanted a free RTTY terminal. RTTY, or RadioTeleTYpe, is a way of encoding and decoding text as audio. It's a little like Morse code, but it can reach much higher speeds due to having 5 different audio tones instead 1 of varying length. Since it's a more complex protocol, specialized hardware is required to send and receive it. In the early 80s, a company called HAL introduced the DS-3100 ASR, which looks a bit like an Apple II without the floppy drives.
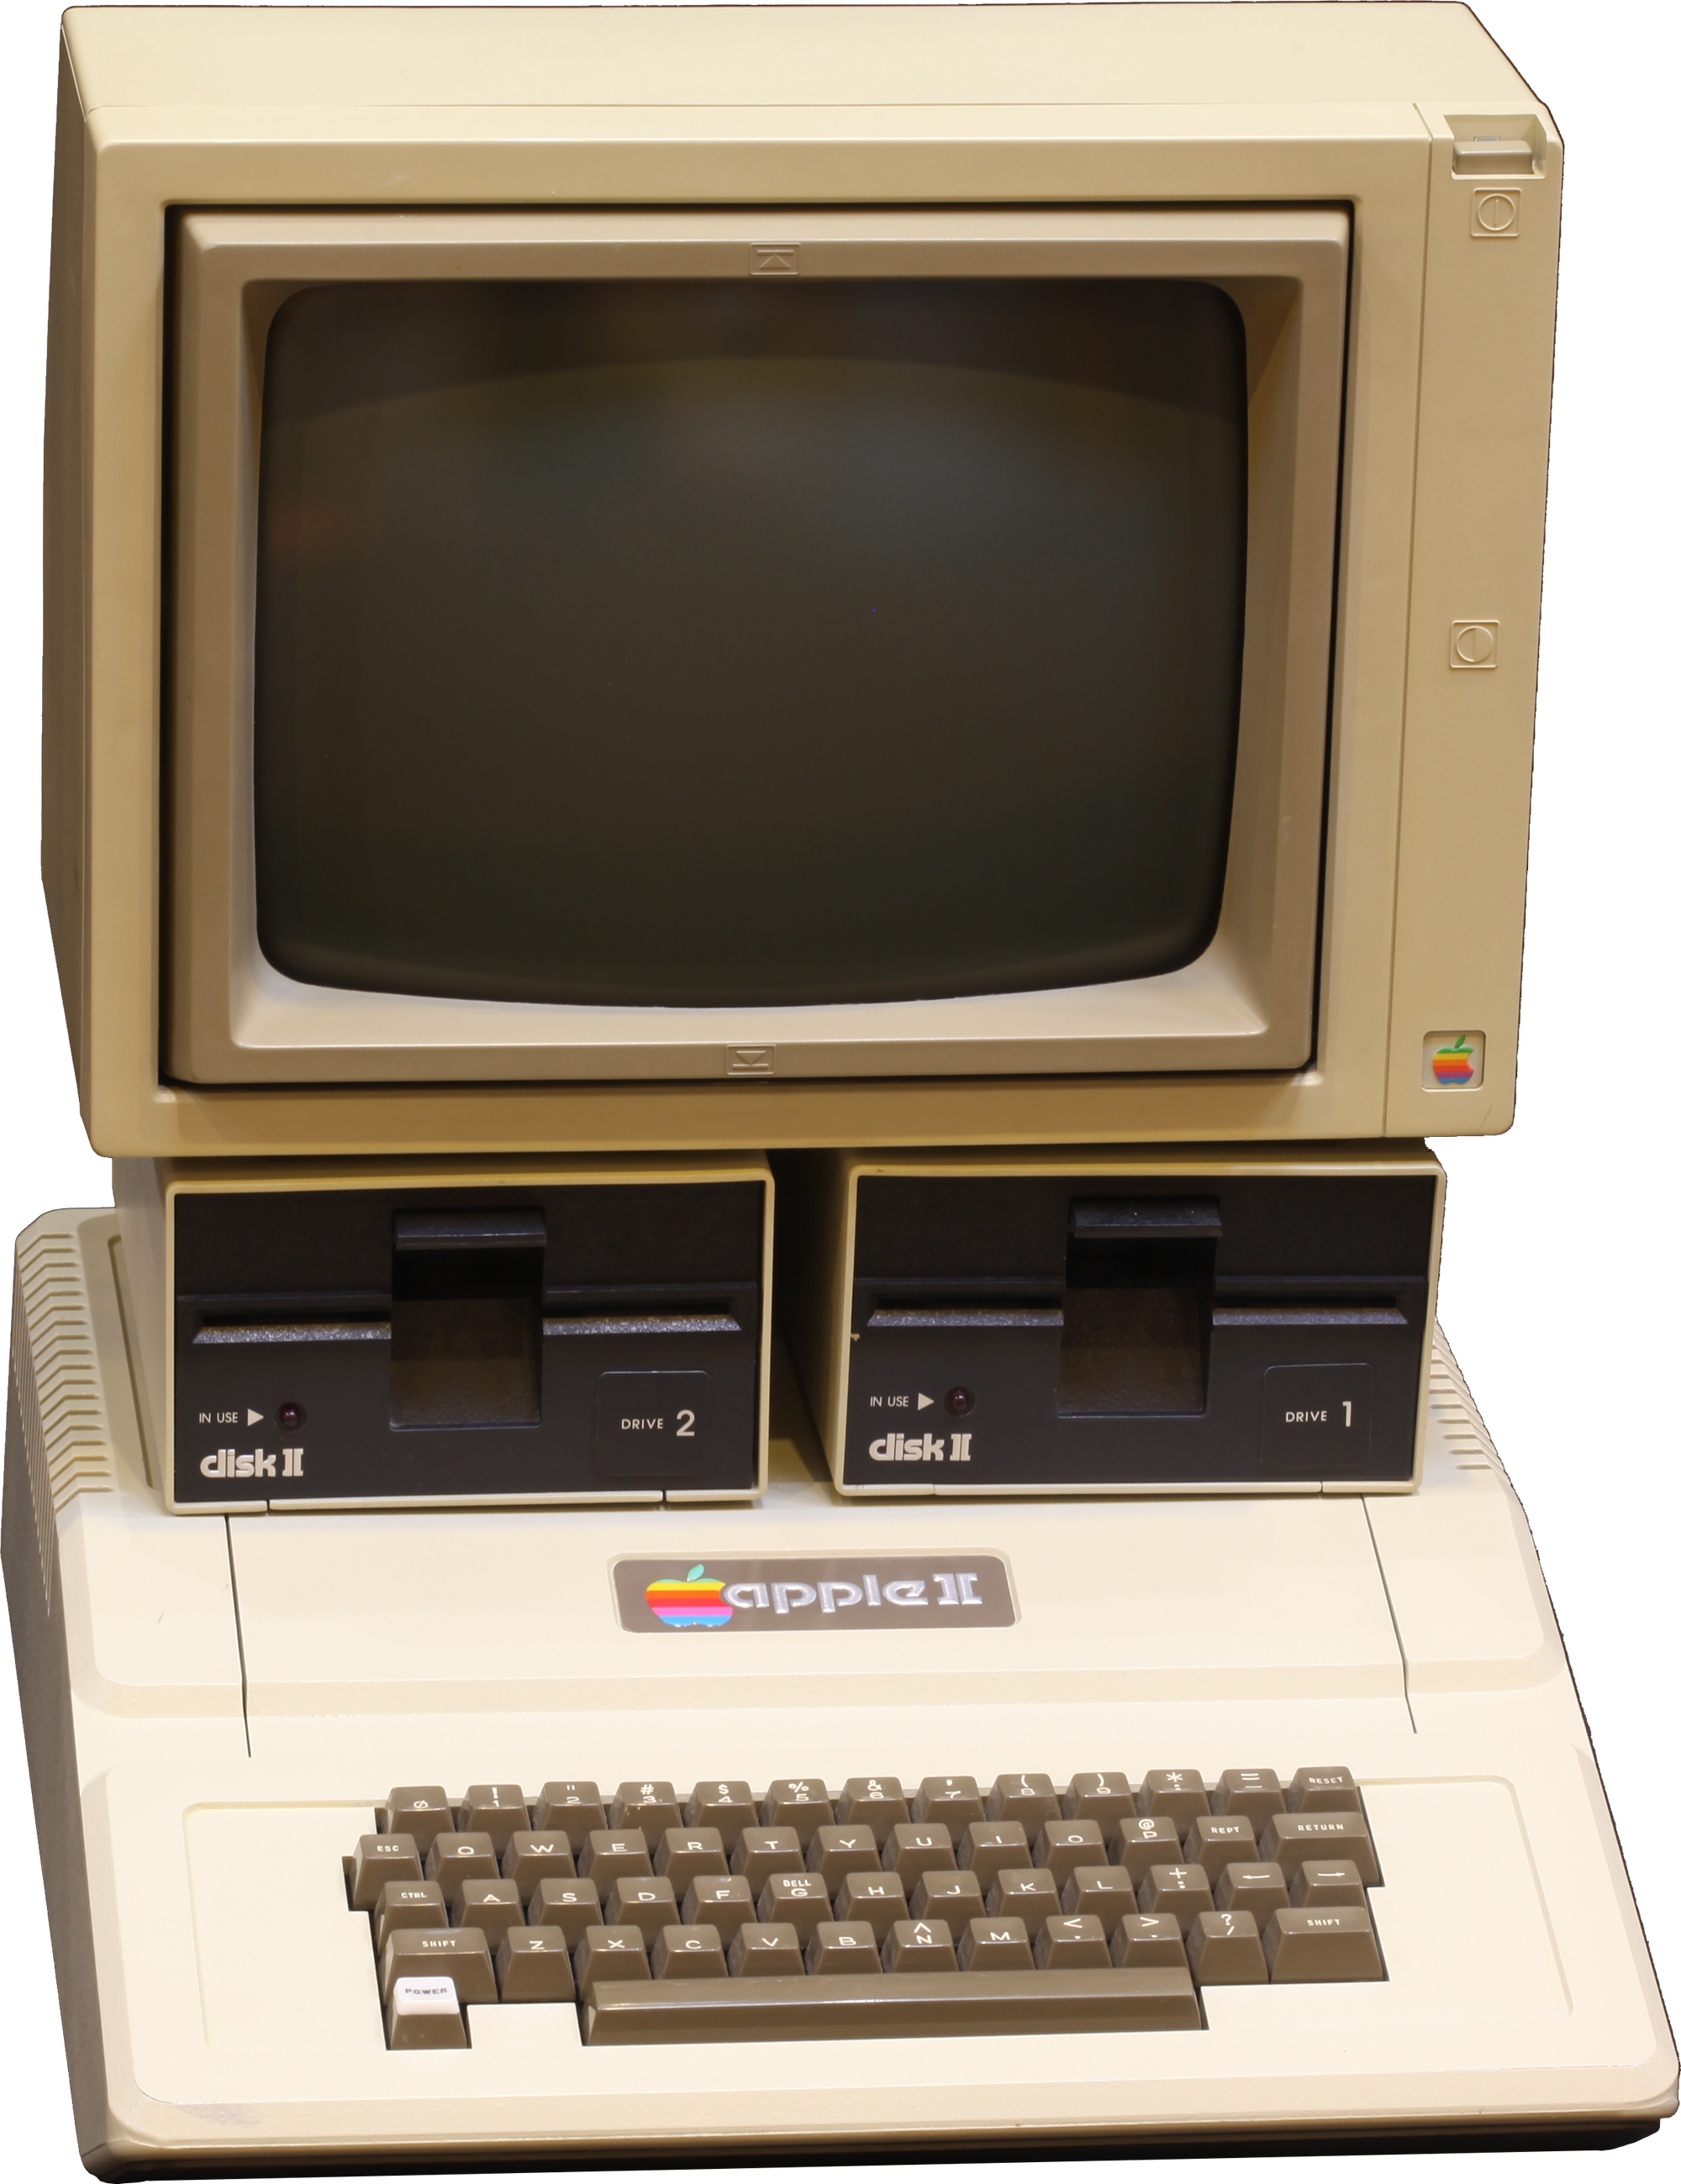
Apple II for comparison
The '3100 is a fully featured RTTY terminal for encoding and decoding text messages over radio. It was available for purchase to the general public, but cost a whopping $2000 in 1980, which is almost $8000 in 2025! As far as I can tell, not many were sold to amateur radio operators, even though that was part of the target audience.
Disaster Strikes
When I brought the terminal home, I plugged it in and got... nothing. Every so often, pressing a key would make a bunch of text flash randomly on the screen, but it was unreliable and clearly fried. I cracked it open to see if I could spot anything obvious, but electronics repair isn't my forte, and nothing jumped out at me as clearly damaged. With my hopes of getting it working dashed, I decided to gut the electronics and turn it into an overkill Raspberry Pi case, using the original keyboard and display.
Spoiler alert: It worked, but was far from easy!
The Display
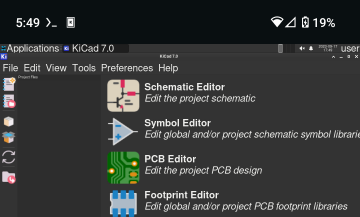
The display was relatively easy. After a failed attempt to drive the display with a Raspberry Pi Pico 2, I dug out a Raspberry Pi 1B from my junk drawer and made a cable to connect the Pi's composite RCA connector to the display's BNC port. That worked, and after realizing first-hand how lucky we are that Raspberry Pis aren't so slow anymore, I soldered a header to a Pi 5's TV out, which worked flawlessly. I now had an epic monochrome green CRT on which I could display just about anything!
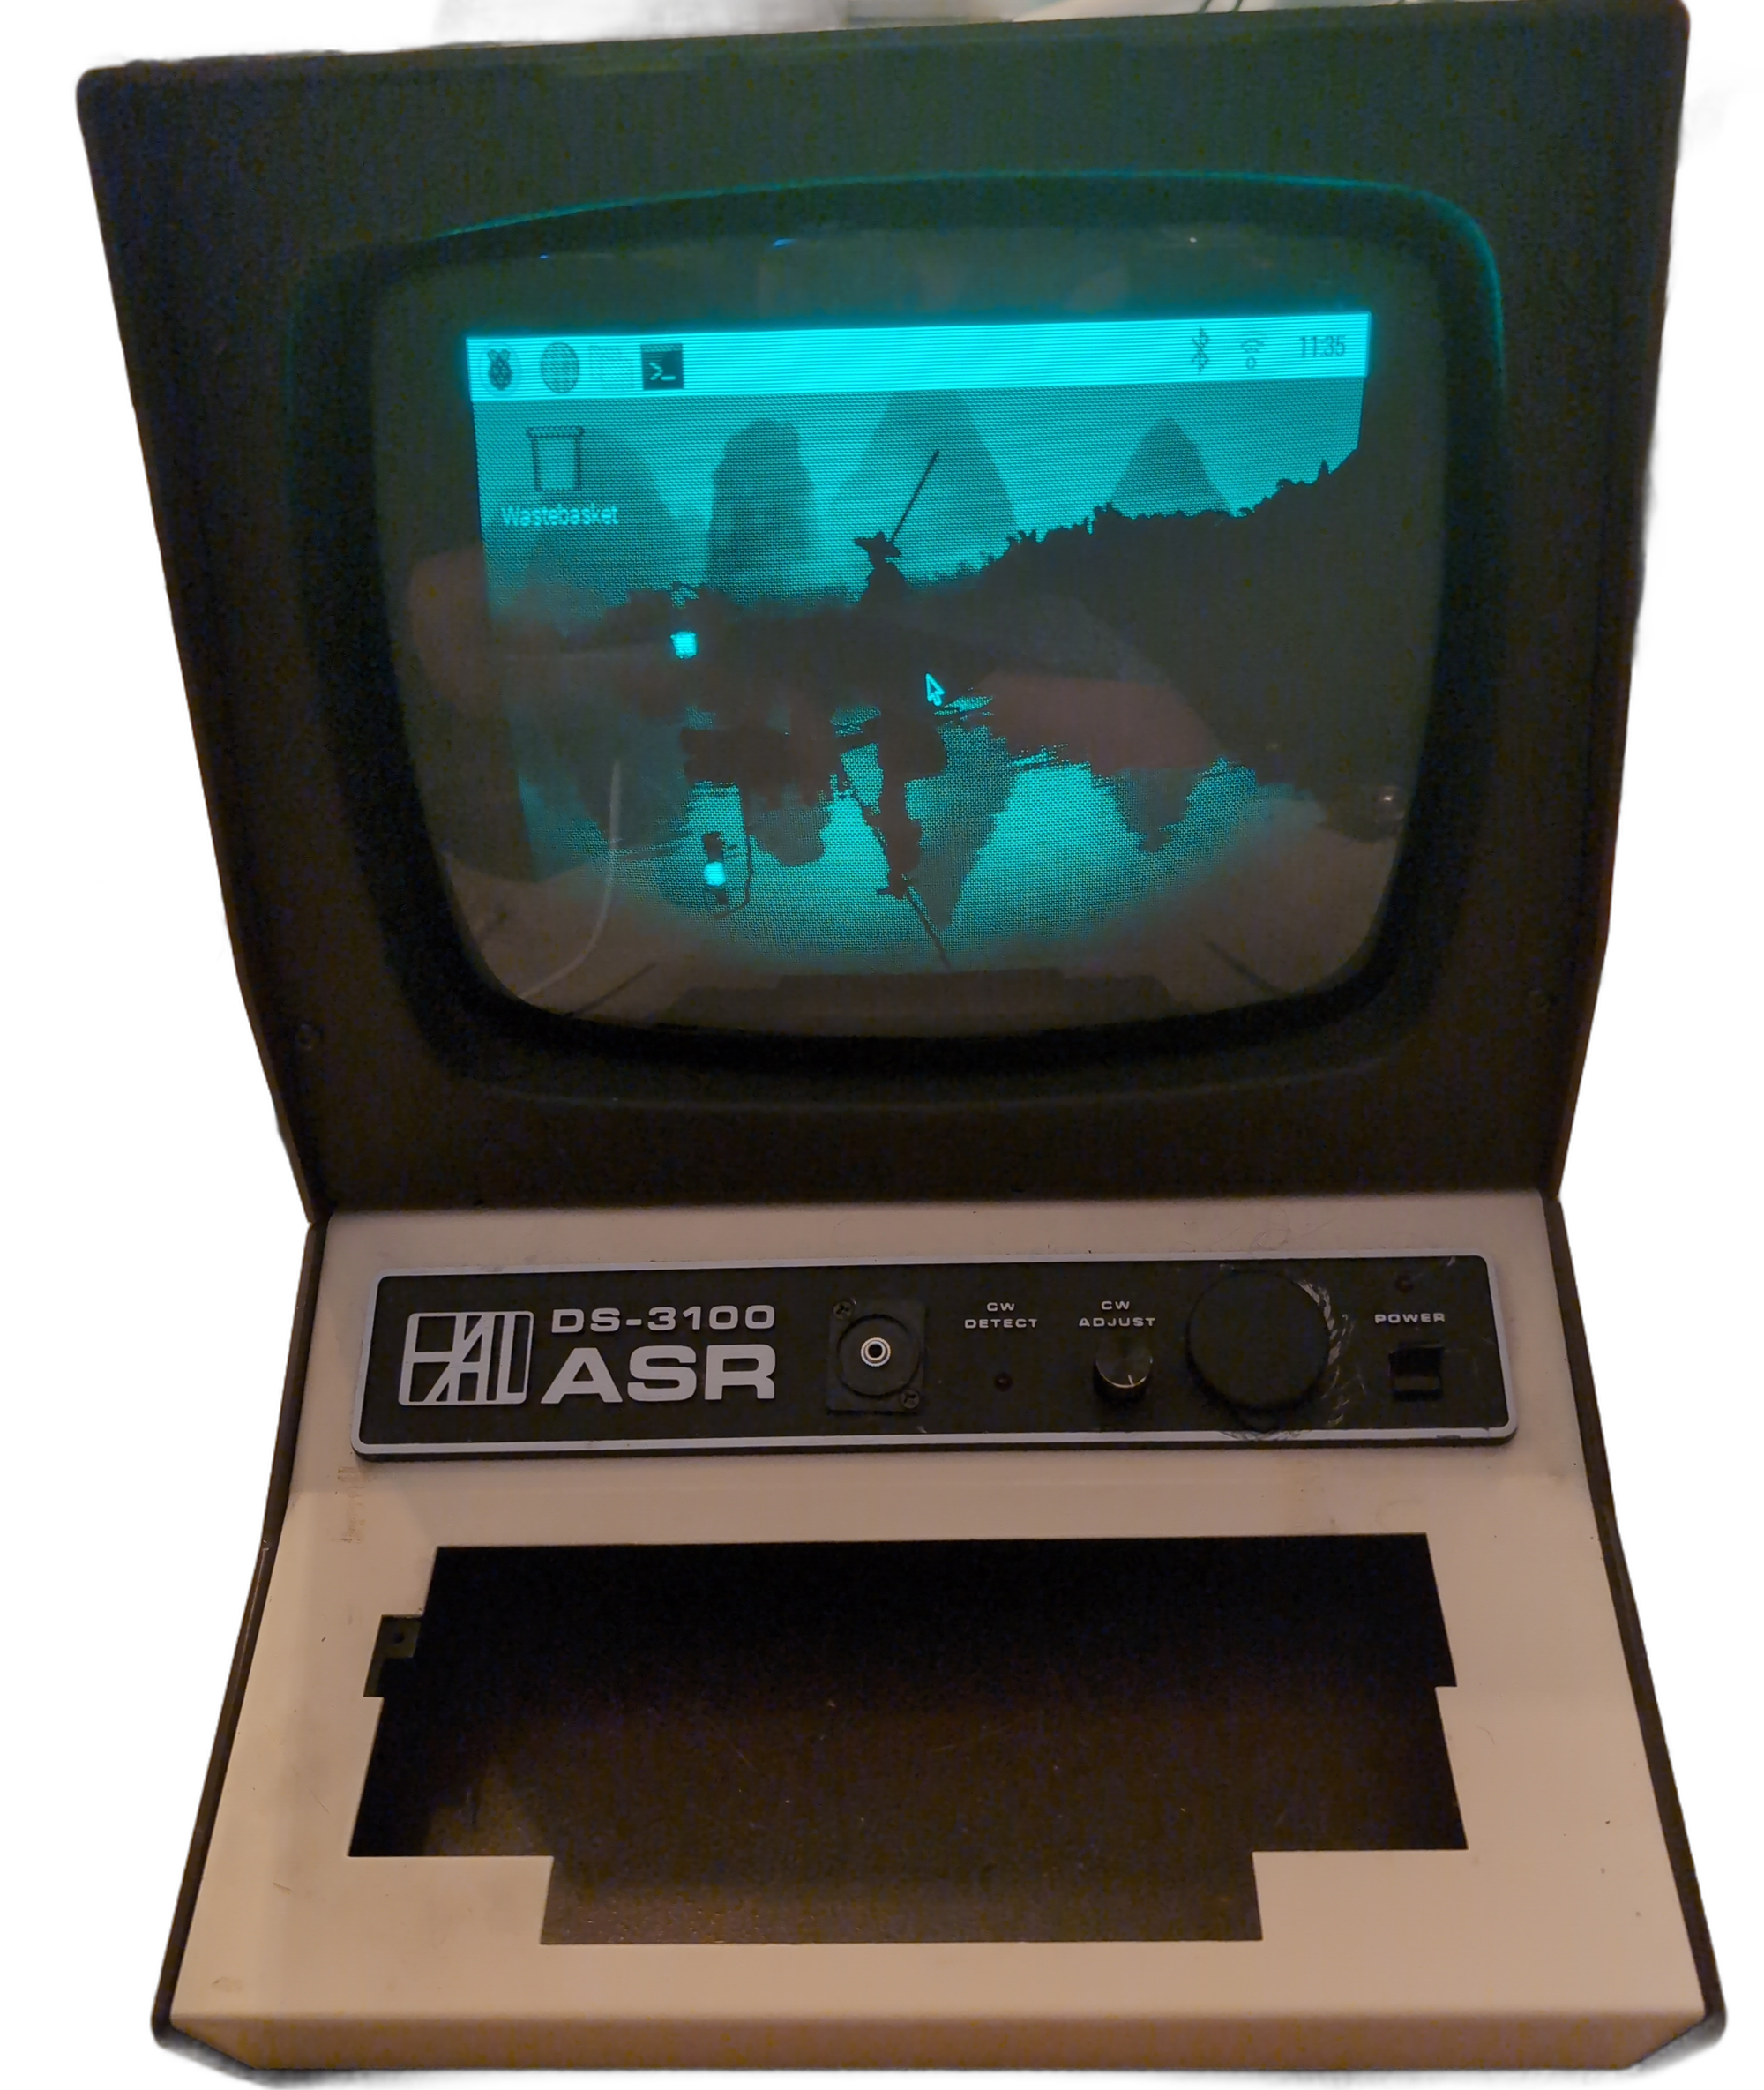
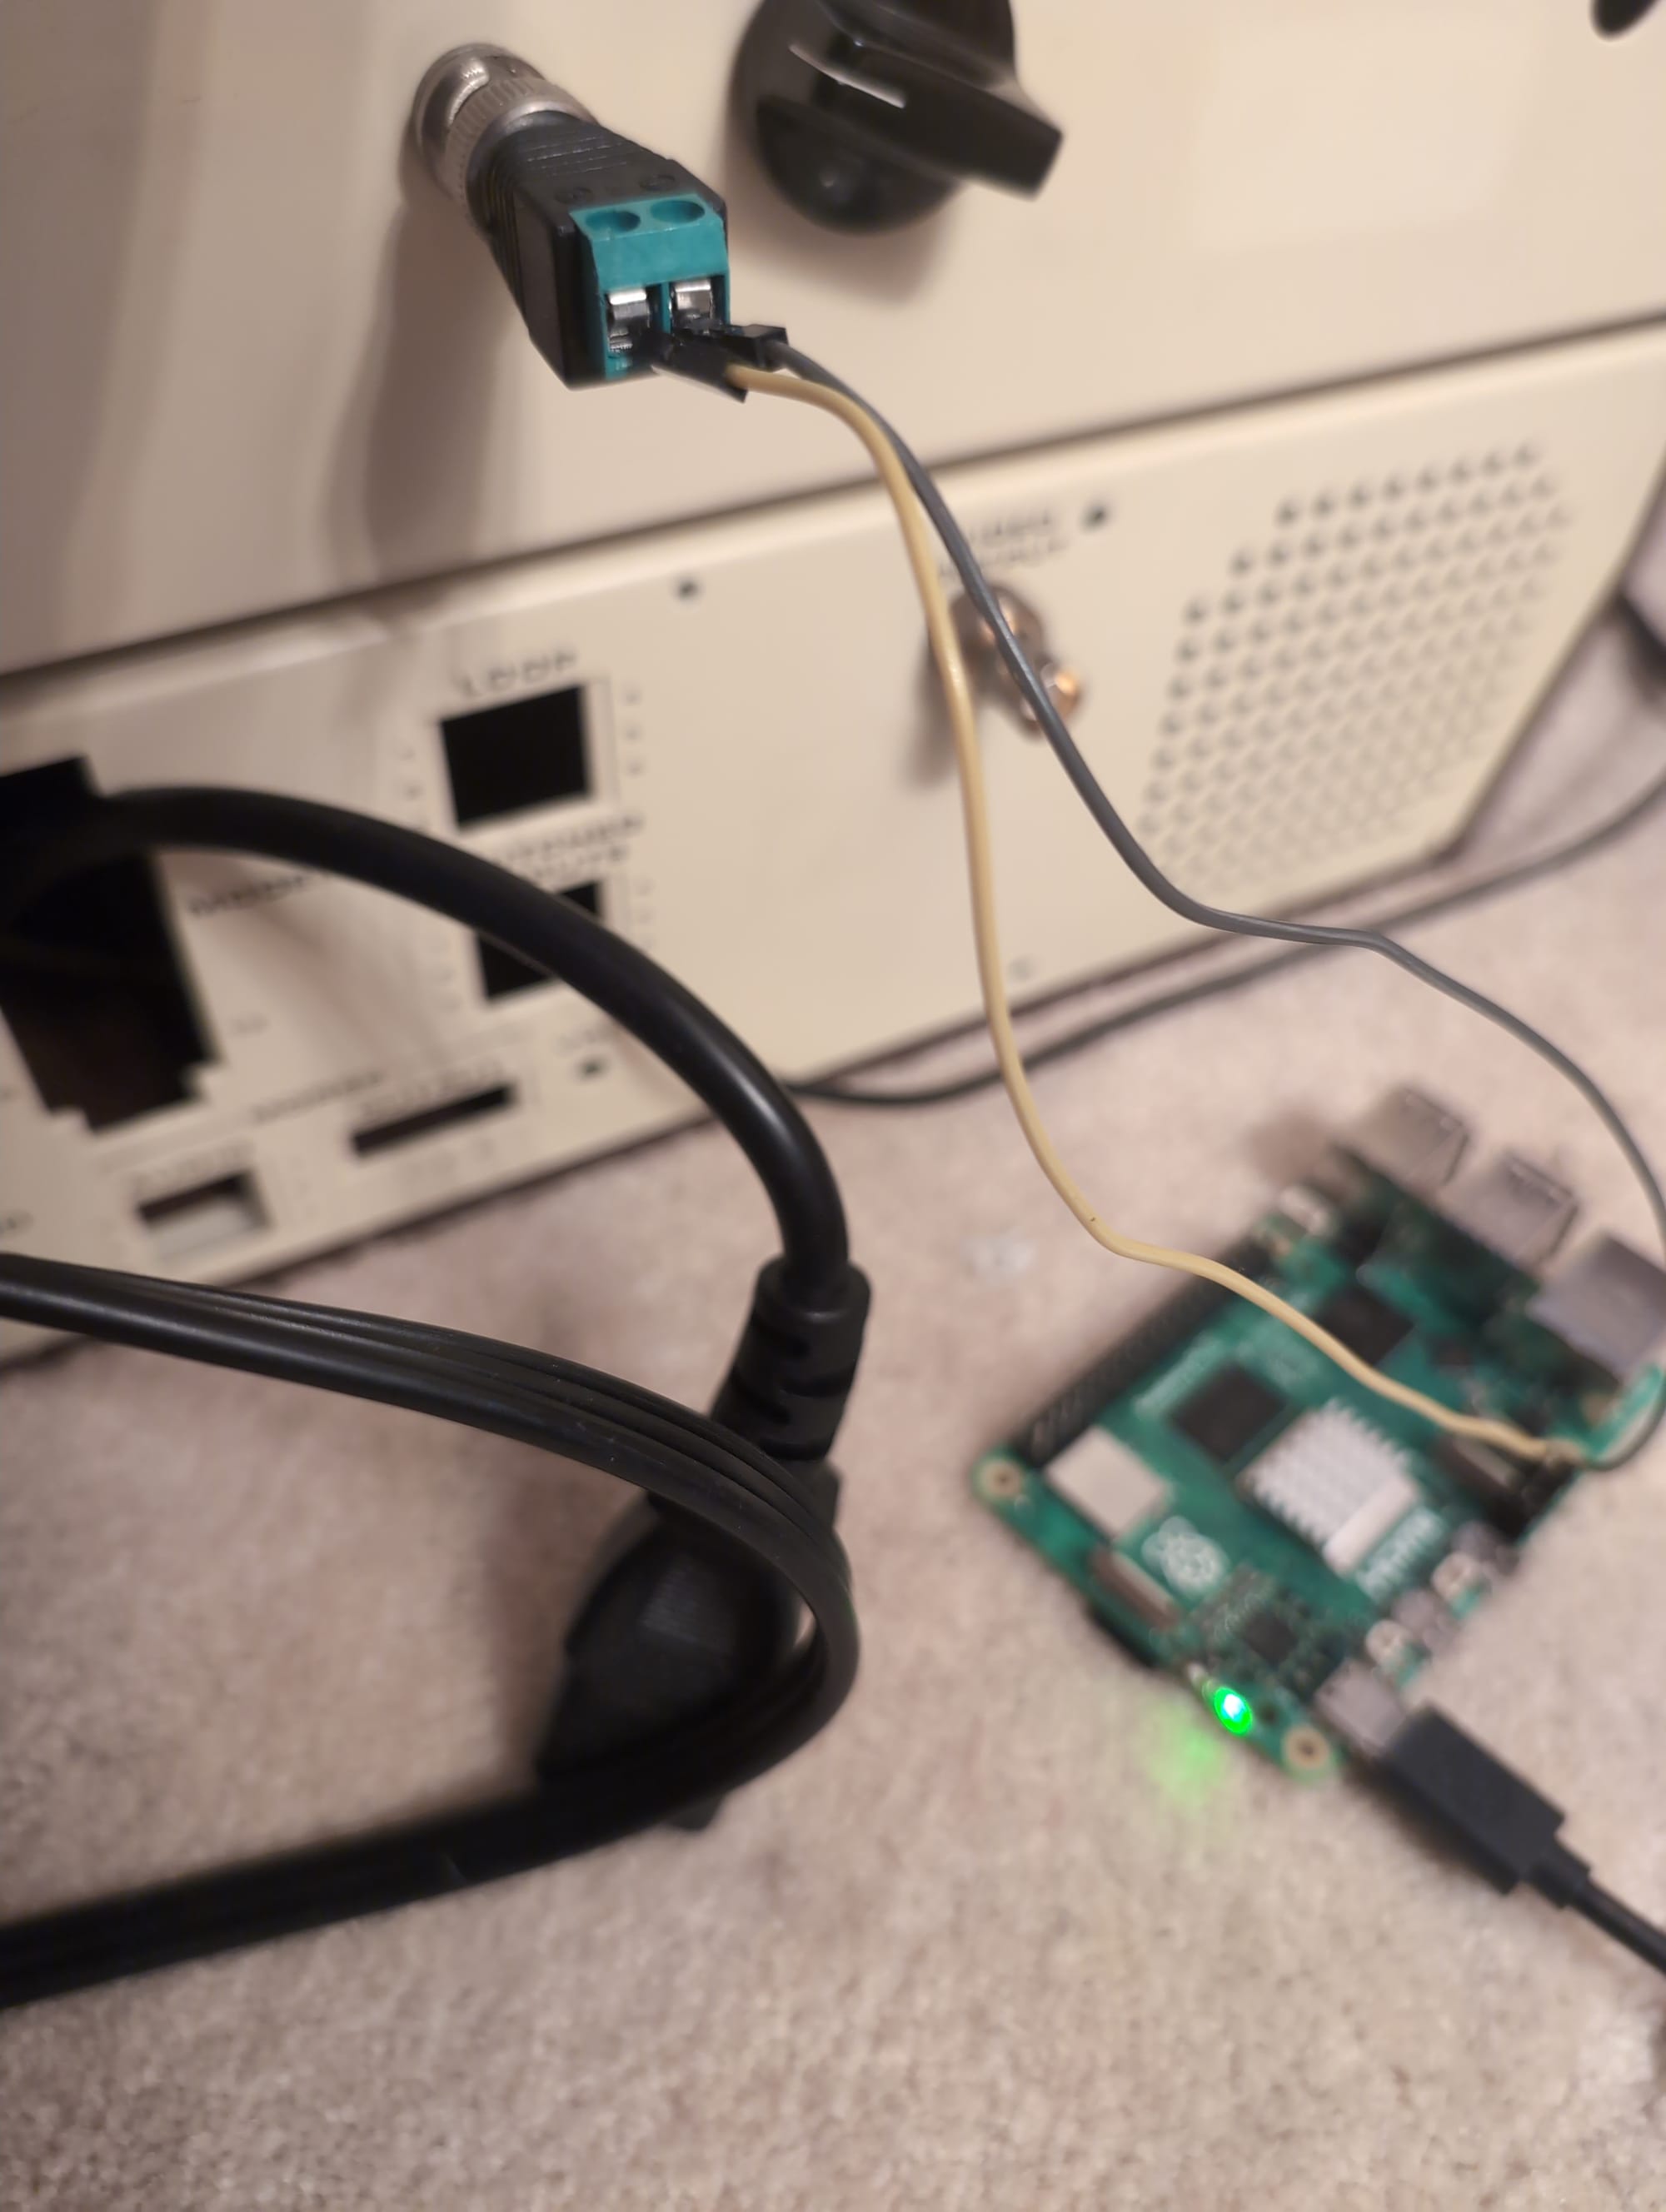
View of the screen on the Raspberry Pi desktop (left) and the connection from the Pi to the screen (right)
The Keyboard
The keyboard was a different story. It has a 2x10-pin ribbon cable connector to hook it up to the rest of the logic boards. The keyboard has several analog logic chips, including some shift registers and binary counters. I decided not to bother reverse engineering the protocol, since I figured it would be more effort to decode the signals than it would be to bypass the existing control ICs entirely.
I thought it would just be a matter of cutting some traces and soldering some wires to a breadboard. Unfortunately for me, the keyboard is a 2-layer PCB, and several of the traces ran underneath the keys, which had a metal plate securely affixed to them. Cutting them with a craft knife was out of the question without desoldering all the switches, so I came up with a really dumb plan: I intentionally burned the traces with a lead acid battery and some alligator clips.
This plan, while effective at removing the traces, claimed the lives of two courageous Raspberry Pi Picos in the process. I used a rotary tool to cut the traces on the back of the board. After removing all the previous connections I could find, I created a free-wired matrix, soldering a signal diode to each key and wiring them up in a grid. After several hours of debugging, key-mapping, and further trace burning, I finally have the original keyboard hooked up to a Pi Pico emulating an HID device!
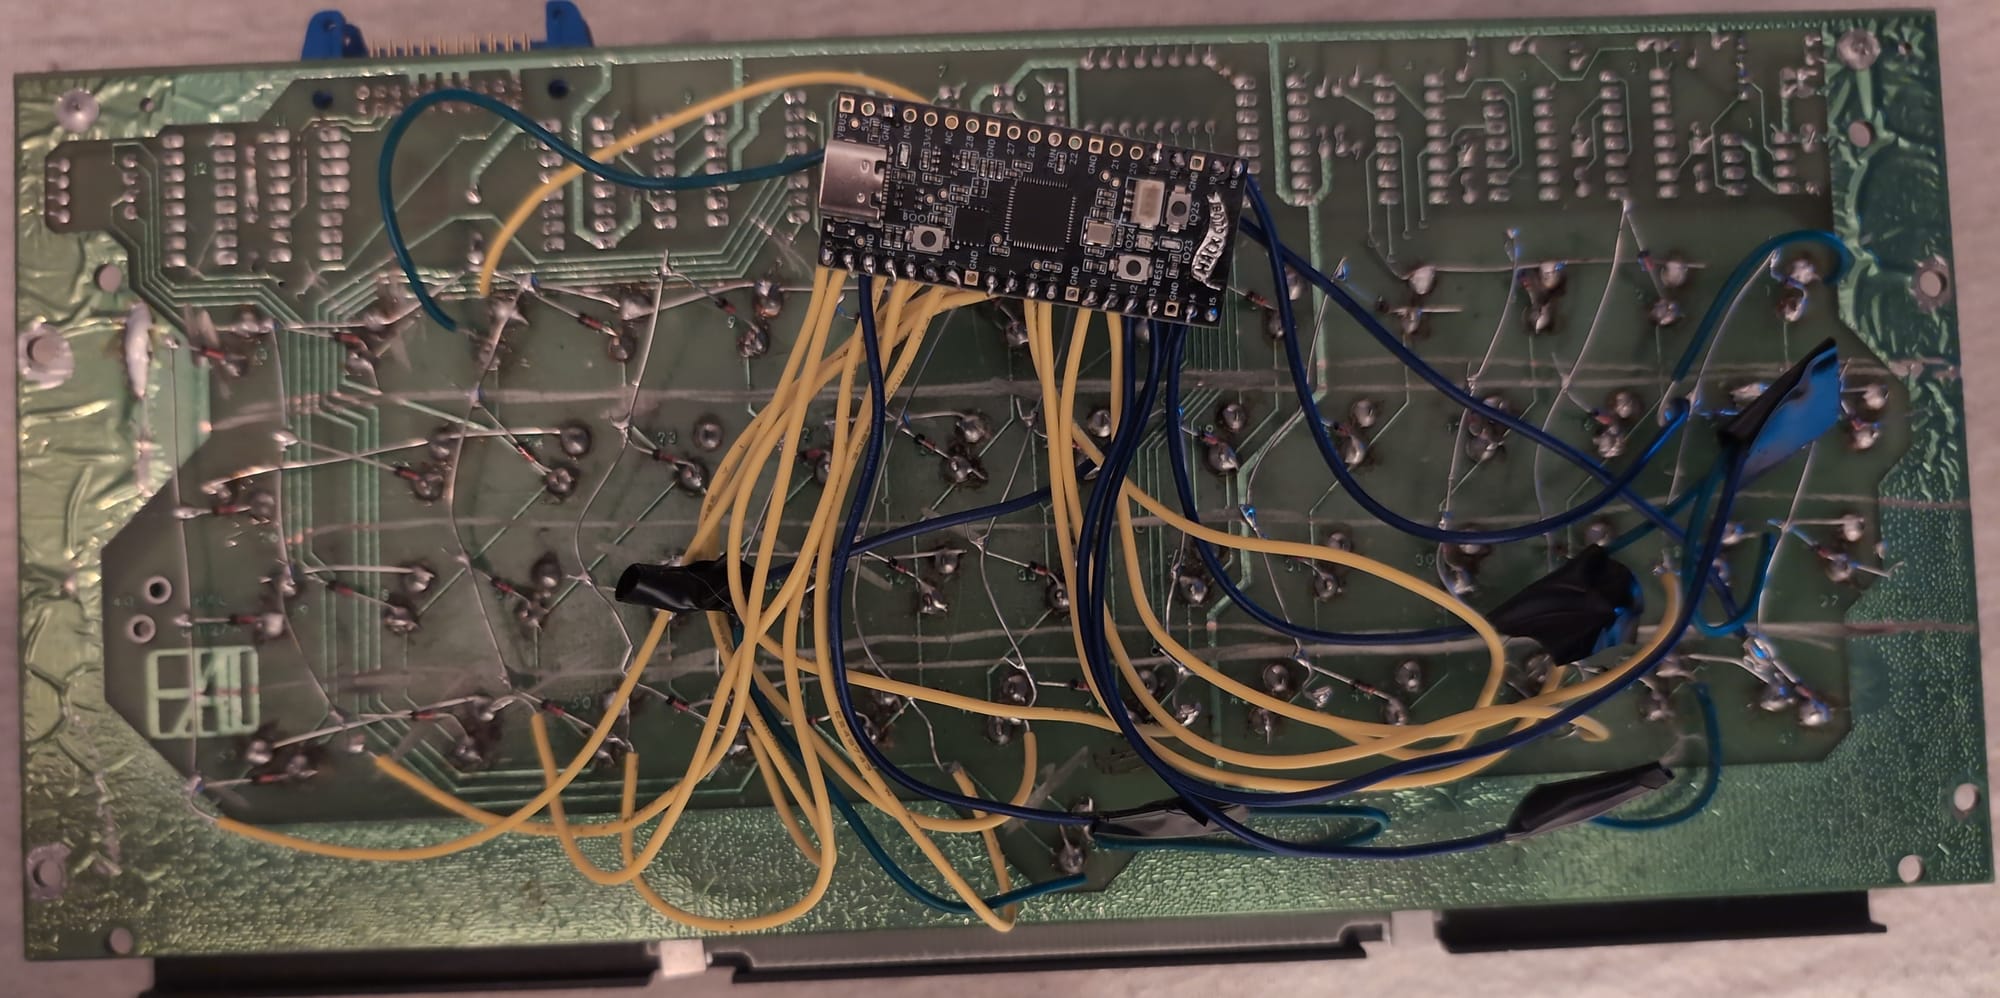
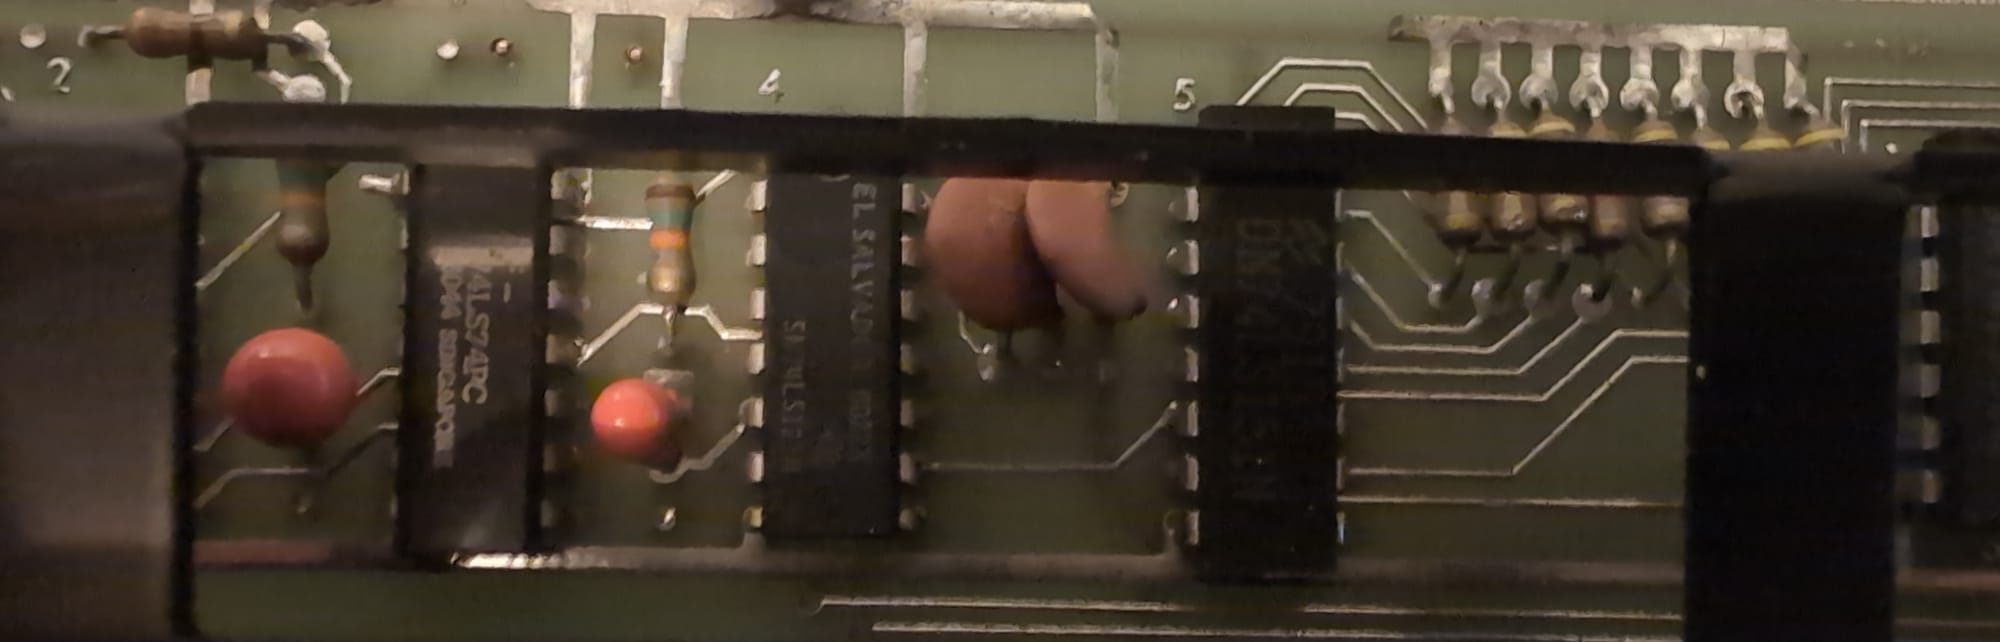
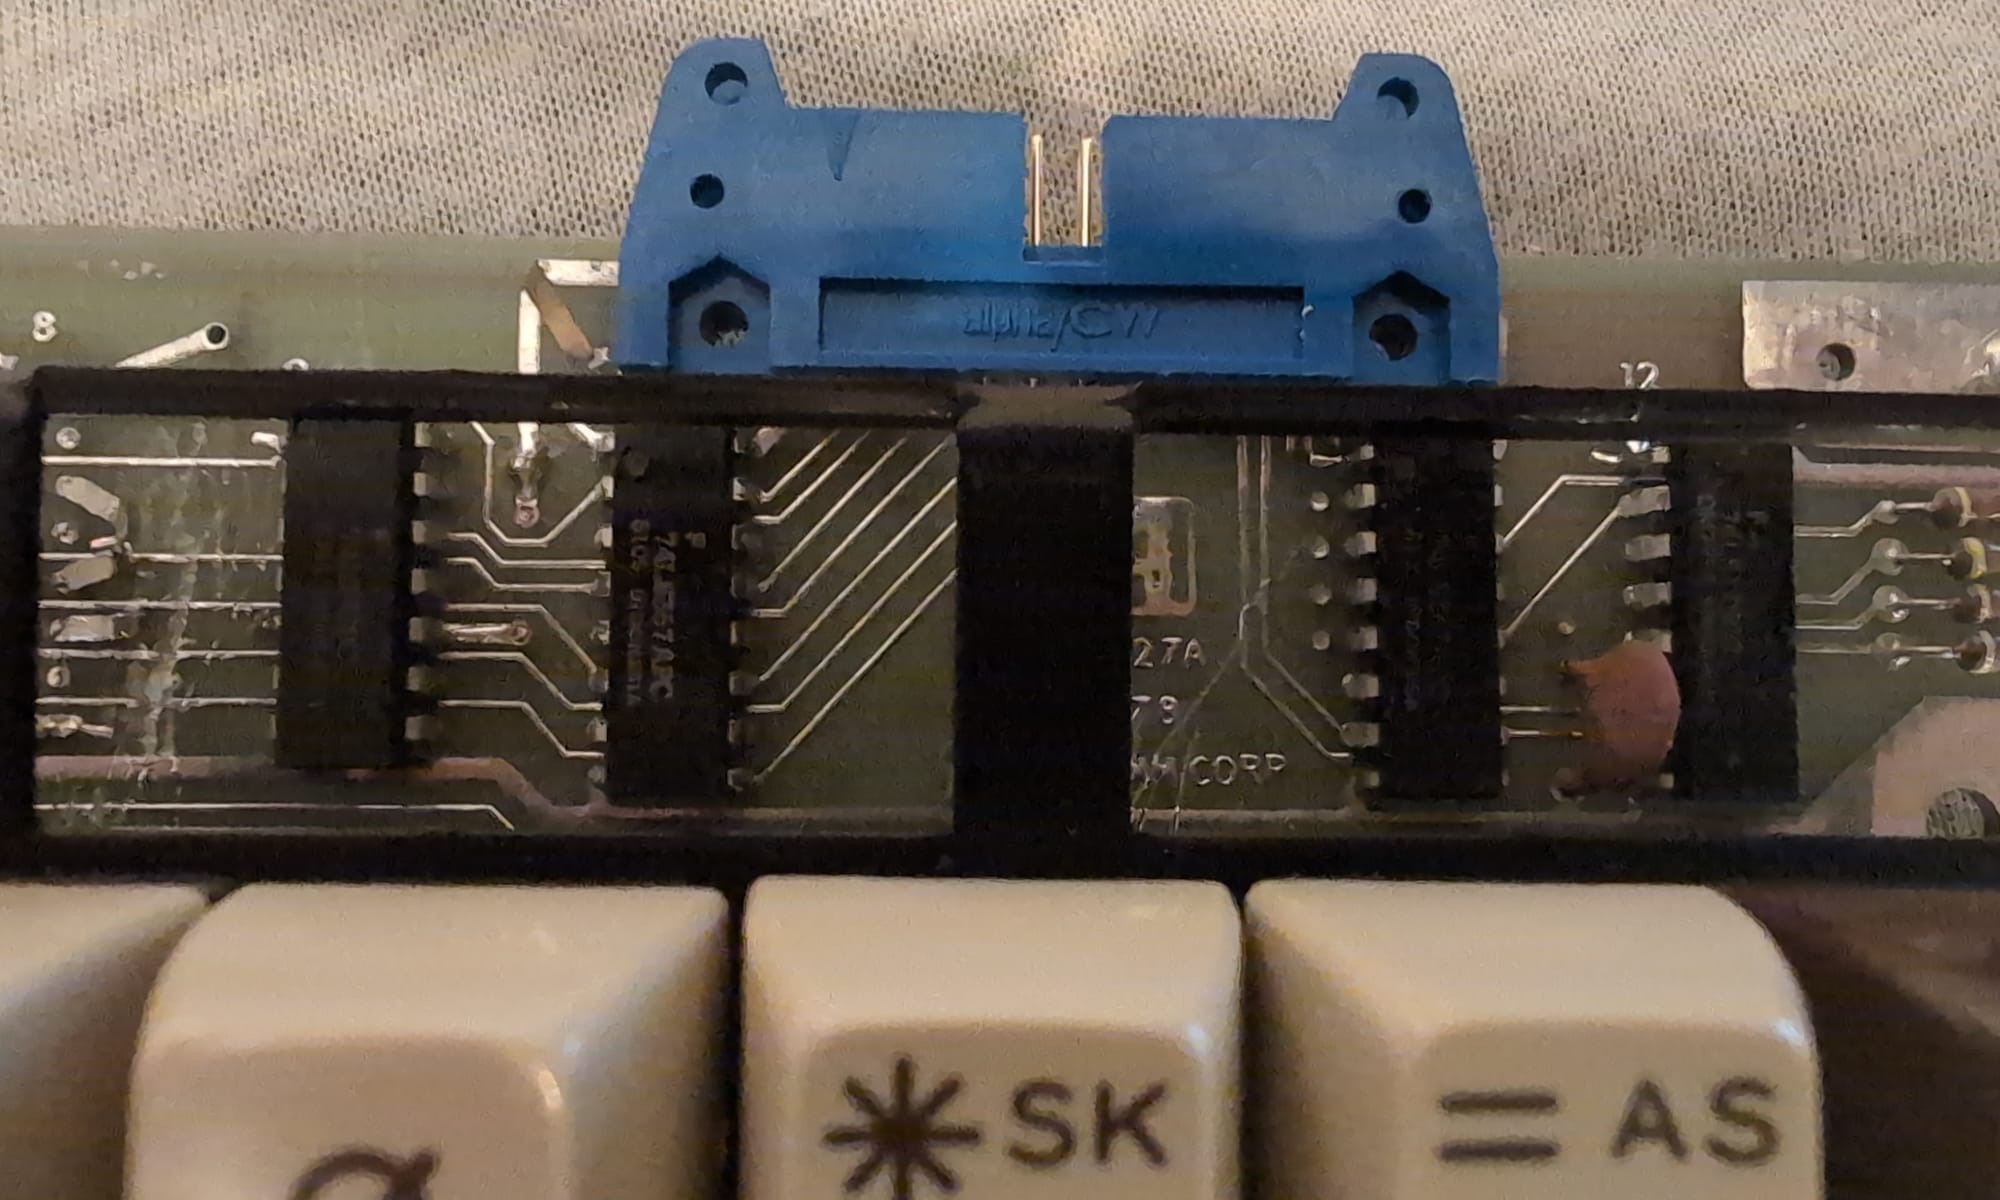
My free-wired keyboard matrix (left), some of the logic ICs I bypassed (center), the connector previously used for the keyboard (right)
Conclusion
All in all, this project has been tons of fun! I learned a lot about keyboard matrices, composite video, and vintage CRT technology, not to mention the pyrotechnic excitement of frying traces with a battery. Now that it's a fully functional computer, I don't know what I'll use it for, but I'm happy with how this turned out. If you have any questions, feel free to drop me a line!
My email is the first letter of this domain @ this domain name. Please let me know your thoughts, and thanks for reading. Until next time!